E2E Testing without the boring part — A tutorial on Cypress (part 1)

How to use Cypress to make E2E tests on your web application, unit tests on your backend, and more...
For whom is this article?
Well, there are a couple of reasons on why you might wanna read this article:
- You’re interested in the process of testing/structuring enterprise applications.
- You’re interested in the E2E testing with Cypress, since it is still quite a new technology.
What is Cypress?
Setting up automate E2E testing can be a nightmare. There is really a ton of stuff that needs to be configured, various frameworks, assertion libraries, installing Selenium… the pain is real 😫.
If only there was a cool software testing tool, that was really easy to set up, had great documentation, and that can be used for small and big scale applications alike. Well, thank God there is: introducing Cypress.
Test case: Time tracking application
We at Softup Technologies were in need of an application to make our daily logs. Our company has developers working remotely and works with different clients across Europe. In order to track the time billable to our clients, we had done a ton of daily manual work: send emails, fill excel sheets, plus make Jira logs, etc. An application for time tracking became crucial to keep things organized.
Tools needed for our test case Project.
In order to continue testing our project, install Docker 🐳.
If you have already Docker installed, and you’ve started it, continue cloning the project here 📁.
I’ve cloned the Project, what now?
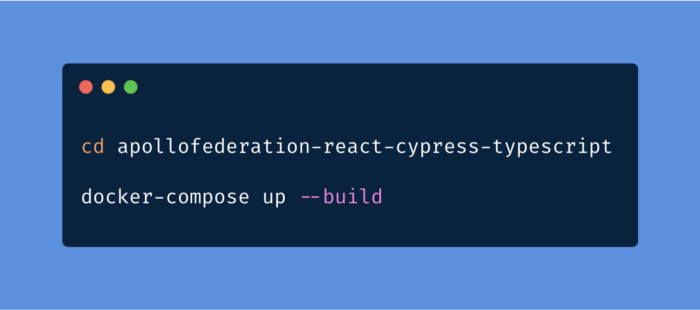
After you’ve cloned the project, navigate to the apollofederation-react-cypress-typescript directory and setup & run the project:
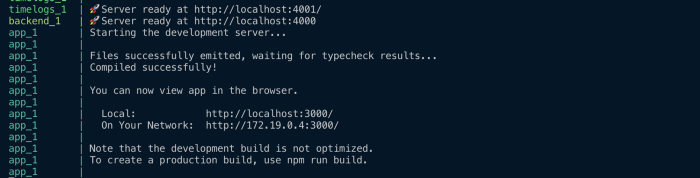
After you’ve installed, you’ll see some colorful logs of the server & react app, indicating that they’re running, for example:
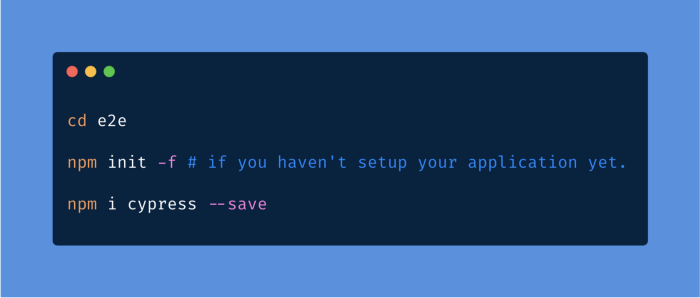
After we have the project up and running, let’s head to e2e directory where we have Cypress configured(don’t forget to npm install), but if you want to configure it on your own application, here’s how you do it:
Then go ahead open your package.json, and write these two lines on your scripts:
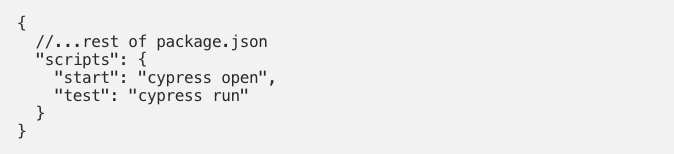
Then on your terminal hit npm run start. That’s it.
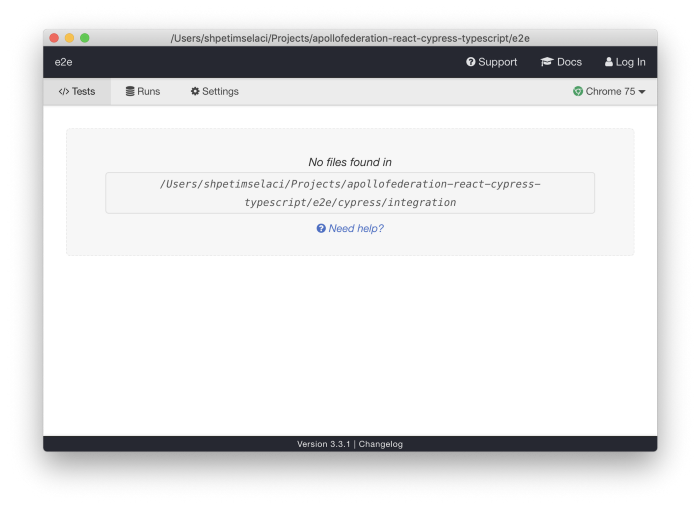
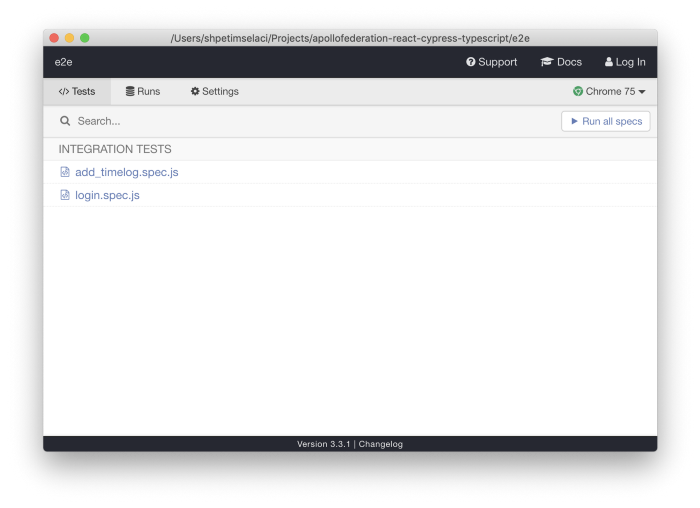
After it runs, you’ll see this desktop application which will make your life easier:
To make our testing flow easier, start with creating a file named cypress.json, and add the following:
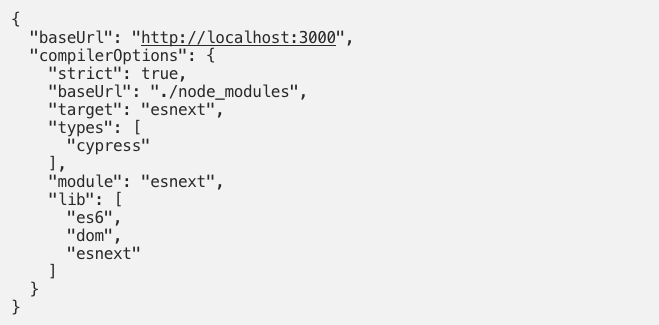
This will make sure we can use all the latest Javascript, and make sure to not write constantly the baseUrl when wanting to visit a page.
Let’s finally start testing 🥁!
Head to integration directory under cypress, and create two files named:
- login.spec.js
- add_timelog.spec.js
We’ll start with the login test, and from there we will see how easy it is to pick up things.
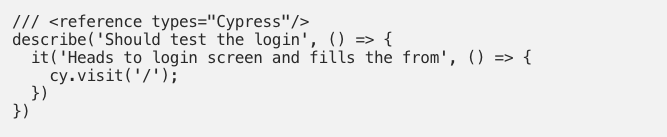
First, write this to your login.spec.js to easily see the web application, and from there we’ll start grabbing things with the Cypress desktop app 😃.
We’ll see that our tests have appeared to the Cypress app:
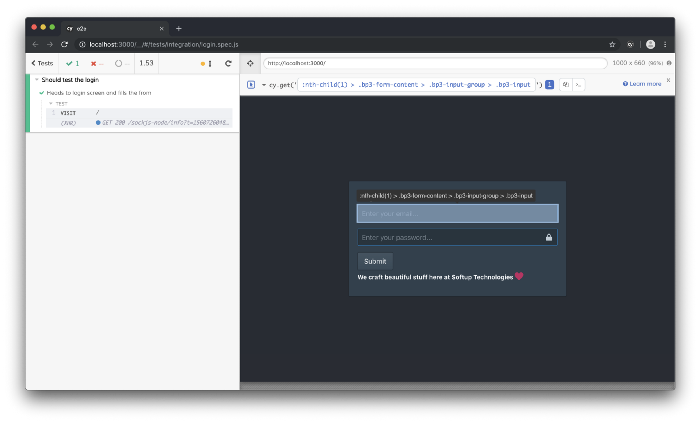
Second, click on login.spec.js file and you’ll see our app there!

Now how do we use this tool to write our tests?
You can write them at your own, it is exactly the same as you do on JQuery, but you can also easily click on that pointer, and simply get the code for each element, like this:
Paste & save that to your login.spec.js, and add:


Same goes for the password input & the button. At the end your code should look something like this:
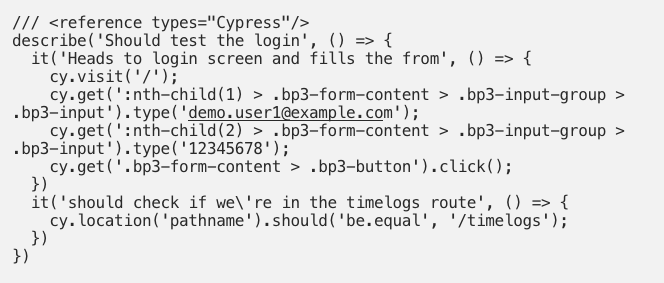
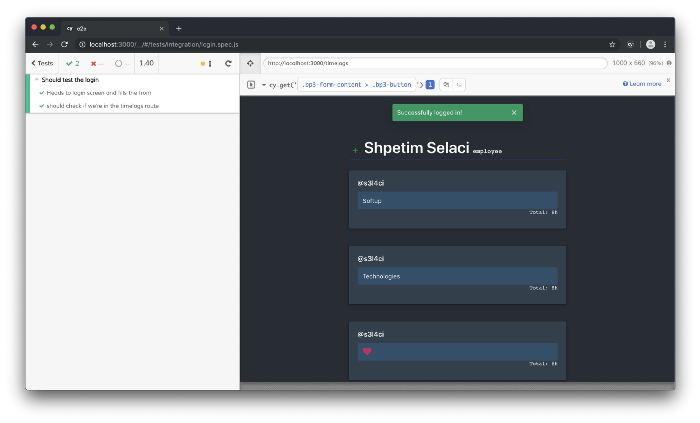
And the test should look like this on the desktop app:
Let’s write another test to add a time log. But before we do, add the entire process of logging in as a command. That’s really easy on Cypress, just add another command on support/commands.js file. Like this.

And in our add_timelog.spec.js, we’ll use it as: cy.login()
Here’s the code for the Add time log test:
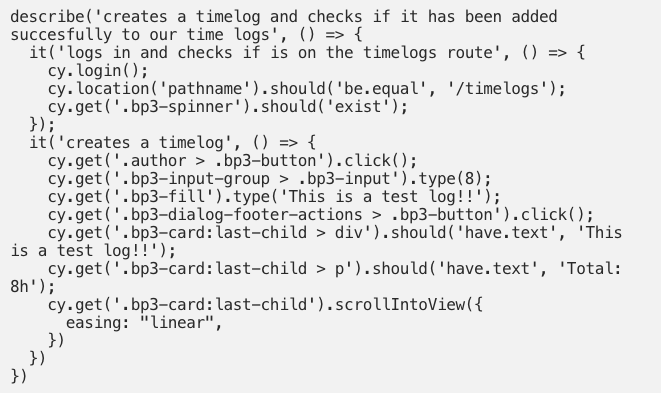
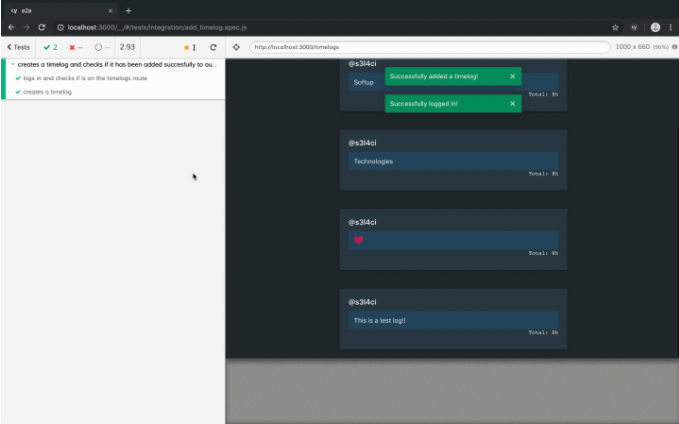
And here’s how it looks like:
Feel free to play on your own!
You have two additional accounts:
- email: demo.user2@example.com password: 12345678
- email: demo.user3@example.com password: 12345678
The End
Check their Cypress site, for more info on how to use the tool!
If you feel like not doing all of this, and just head to the final thing, checkout to branch final where you have all the tests included.
If you have any questions feel free to reach out to us at info@softup.co or leave a comment below!
P.S
Coming out soon with part 2, adding unit tests on the backend & dockerizing Cypress.
Thanks for reading!
Best regards,
Shpëtim Selaci.